

I love working with Susan's CountryScapes die sets. Today I used the Backyard 3 die set to create a Spring Tree.
This is a 6-inch card.
Use a piece of white card stock slightly smaller than the front of the card. Use Susan's Earth & Sky Stencil and sponge blue ink around the cloud stencil, on the upper half of this piece.
Use the Adventure Edges die set and die cut two green landscape pieces. Glue the two pieces together to create a hilly background on the bottom of the card.

Use the Backyard 3 die set to die the tree plus a few of the branches. Use the Kids Glue to add the as many branches as you want to build the tree to the size you want.
Use the Leafy Branch die set to die cut the several branches. Cut the leaves off this branch to add to the tree branches. There are leaves in the Backyard 3 die set, but for this tree I preferred to use the leaves from the Leafy Branch.
Use the Garden Notes small Hydrangea die set to die cut pink flowers for the tree. Shape the flowers using the Flower Tool Kit. Use a fine point marker to add a dark pink center to each flower.
Use the CountryScapes Garden Edges - Tulip die set to create the Tulips. Cut the line of tulips apart to create a bunch on the left side of the tree.
Use the A Way With Words - 4 Seasons die set to die cut the sentiment. Attach to the right of the tree.
Use the Critters 2 die set to die cut the birds. Glue two birds on the lower branches of the tree and the flying bird on the upper right corner. Add a small piece of dimensional tape behind the flying bird, for dimension.
Use the Garden Notes Bugs & Butterfly die set to die cut the little butterfly above the tulips.
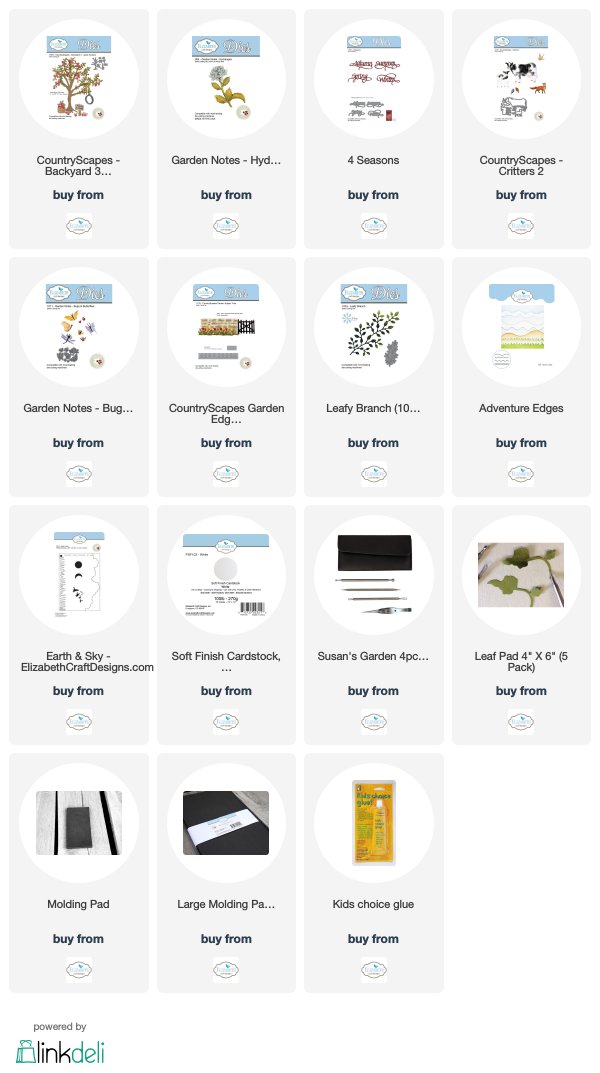
You can shop for the products used by clicking on the products shown below.
Thank you for stopping by today.


No comments:
Post a Comment