

I am tired of all the snow and wanted to think about Spring and the flowers we will see soon. Today I have created a window card with a little bouquet of flowers created with some of the Susan's Garden Club die sets. Here is how the card was created.
This is a 6-inch card. Attach a piece of patterned paper of your choice to the top half of the front of the card base.

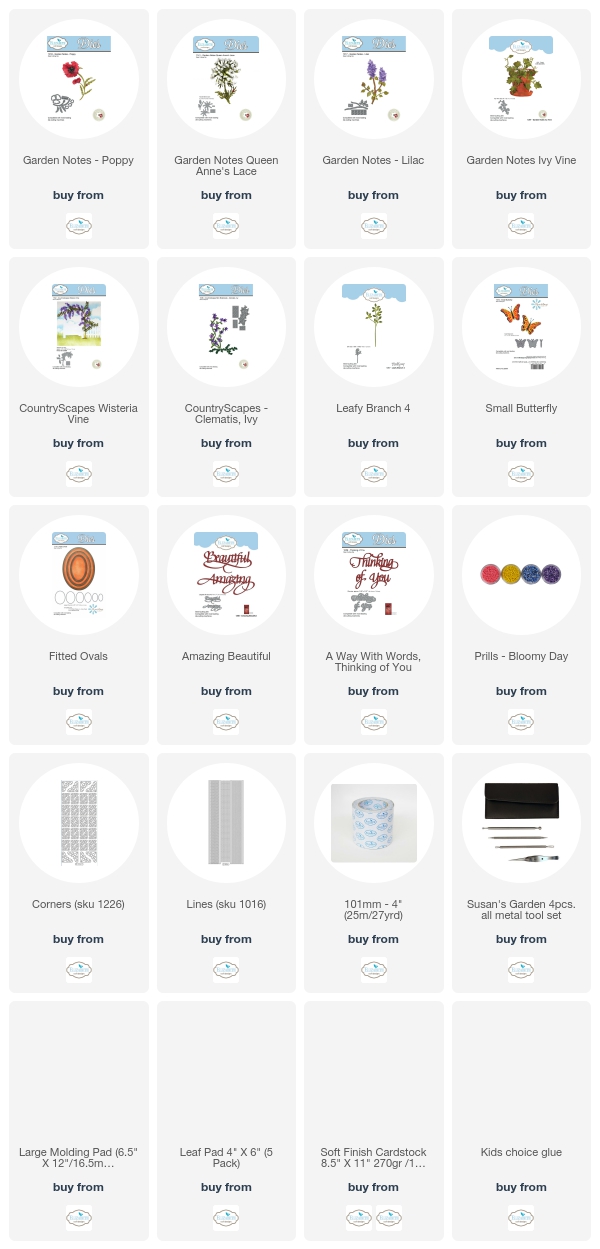
Use the Els van de Burgt Studio Fitted Ovals die set and the A Way With Word 'Beautiful' die for the window in the front of the card. Place the Oval die so that half of it is on the patterned paper. Place the A Way With Words 'Beautiful' die so that the bottom of the letters are even with the bottom of the patterned paper. See picture for the placement. Be sure to tape down the oval and the Beautiful die so they don't move. Place the card on the die cutting machine so that the middle of the card is even with the edge of the cutting bottom plate. When you roll this through the machine, it will only die cut the portion that is on the cutting plate. Once you roll it through the machine, you are going to have half of the Oval die cut and only the portion of the Beautiful die cut leaving part of the word still attached. Use a craft knife to cut off the pieces under the word, so that the entire word is die cut.
To give the top of the Oval a finished edge, use Gold Line Peel-Off Stickers to go around the half Oval opening. Because the peel-off is a straight line you will need to cut it into small pieces so it will curve nicely, but the cuts do not show. Add a piece of clear acetate to the back of the window.
Use the A Way With Words Beautiful die to die cut the word using Kraft card stock. Use the A Way With Words Thinking of You die set to die cut two (2) YOU words. Glue the two You pieces together for dimension.
Attach a different piece of patterned paper on the lower half of the card front. Attach the Kraft Beautiful die cut on top of the one in the half Oval. Now you see the entire Beautiful die cut. Attach the You die cut to the right lower side, as shown.
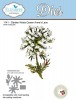
Use the Garden Notes Queen Anne Lace die set to create one flower. Use Susan's Garden Flower Tool Kit to shape the flowers, and attach them to the stems. You can watch Susan's YouTube Queen Anne's Lace Video at this LINK for assembly instructions.
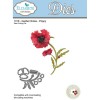
Use the Garden Notes Poppy die set to die cut enough petals for three flowers. Shape and assemble. You can watch Susan's YouTube Susan's Garden Club - Garden Notes Poppy Video at this LINK.
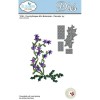
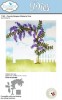
Use the CountryScapes Wisteria die set to create the purple flower stems.
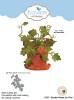
Use the CountryScapes Clematis, Ivy die set to die cut the small (pink) flowers. Add Prills to the center of each flower
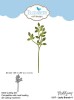
Use the Leafy Branch 4 die set to die cut 2 branches. (These will be cut apart and tucked under the flower arrangement.)
Arrange and adhere the flowers and leaf branches to the lower left side of the card.
Use the Garden Notes Ivy Vine die set to die cut one large and one small ivy piece from White Soft Finish Cardstock; lightly sponge on green ink. The large Ivy will need to be cut apart to fit in the upper right corner and the small Ivy will be attached to the lower right side of the half oval opening. Add a few of the small Clematis flowers to the Ivy.
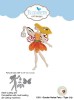
Use the Fairy Wings from the Garden Notes - Lily Fairy, to die cut the wings for the butterfly. It was die cut using White Soft Finish Cardstock that had Clear Double Sided Adhesive on the front, then glittered with Cool Diamond Silk Microfine Glitter (polished with a fingertip to bring out the maximum sparkle). The edges of the wings were then sponged to match the patterned paper. Curve the wings as shown; adhere only the body to the card front, angling the butterfly as shown. (Option: Instead of turning fairy wings into a butterfly, substitute any butterfly die set you prefer.)
Accent the bottom of the card front with Gold Line Peel-Off Stickers and for additional decoration add a Gold Corner Peel-Off Sticker to the upper left corner.
Since this is a Window Card and the interior of the card is visible through the acetate, add a piece of solid color card stock to the inside back panel. Shown: Light green.
For a finished look, also line the back of the card front with a piece of card stock; die cut with an oval opening to match the window in the center, covering the edges of the acetate but not the acetate window itself.
I hope you enjoyed my project today. Thanks for stopping by and visiting my blog.
The products from Elizabeth Craft Designs are linked below.


9 comments:
Beautiful!! Those flowers look so real!
Good morning Selma,
oh how beautiful(sorry a pun wasn't intentional) card you have made for our delight today. Each and every bit of this wonderful beauty is a delight to the eyes and so wishes spring was here already. I know making these flowers are such hard work but the finished result that your sublime efforts show is making you look really really hard to see IF they are just paper flowers and not real. Thank you for your tutorial on what you did and although i have some off Susans flower dies, i don't have them all but i am going to try them out later matching up how to do them with your stunning examples.
love and crafty hugs
Norah (Glenochil Village, Scotland)
Just lovely and you are right as I am ready for winter to be over and Spring to arrive.
Hi Selma,
I love this card. Beautiful. We are in Portugal again for the winter. Itś a beautiful sunny day today.
Hugs,
Erna
Always love your flowers. Were in Spokane Valley last week and in Hobby Lobby. Hoped to run into you some time when we go to Spokane to see my son.
Ahhh, I, too, am ready for Springtime. Your beautiful card has uplifted my spirits of Spring to come even though the weather forcast just mentioned snow for us here tomorrow. Winter is not over here. I love everything about your design today: the colors, the window, and especially your flowers. Selma, you have a wonderful eye for color and design and I appreciate all the work you do to make your creations come to life. Thank you for sharing.
This is such a pretty card...very pleasing floral display. Thanks for the written directions. I'm definitely going to give this one a try. Beautiful!!
Love the whole design of the card
Wow Selma.....your flowers are MAGNIFIC, such always!!
The colors are wonderful, everything on this card is in a perfect harmony...
I love it!! Eva.
Post a Comment